Cross posted from the original Pinside thread, this is one of many posts regarding my third homebrew pinball machine, creatively nicknamed 'P3'
While out shopping, I saw a Cri-Cut for sale, and thought "that would be handy to cut some stencils!". But then I thought: "wait, why do I need stencils? what if I just cut the art out of vinyl directly?" So I grabbed a roll of 'removable' adhesive vinyl from the supply area and tried it out on the cab. It looked fine, and seemed to peel back off without damaging the webbing, so that sounded good. Except I didn't want to drop $300 on a cricut. So I bought a $10 'drag knife' vinyl cutter attachment and hooked it up to my CNC router instead ![]()
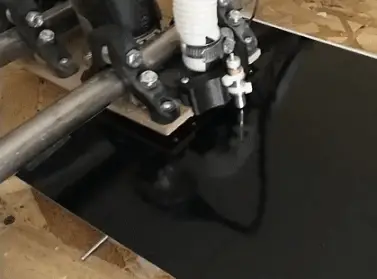
Took a few tries to get everything adjusted properly and figure out a workflow, but once I worked out the kinks it worked quite well. 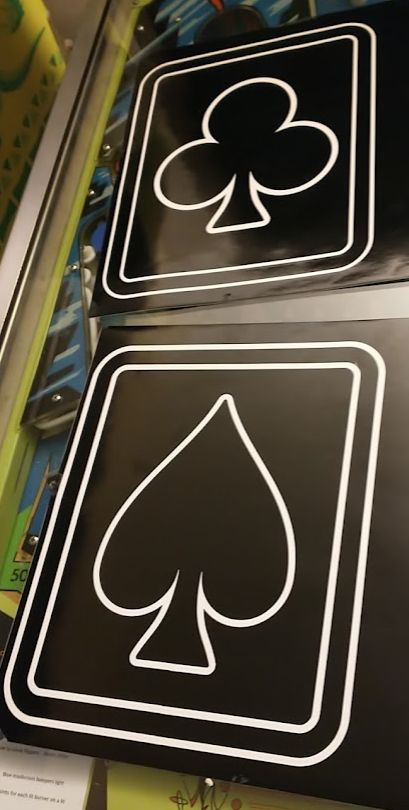
Hand positioning and applying them to the cabinet also took some trial and error, but no major issues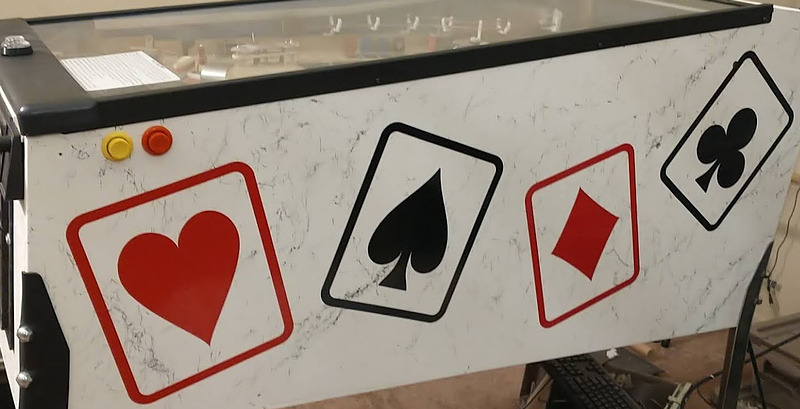
As always, learning that even a tiny bit of art goes a long way. I'm not going to win any awards here but it's turned out pretty solid despite my zero art skills
Cross posted from the original Pinside thread, this is one of many posts regarding my third homebrew pinball machine, creatively nicknamed 'P3'
Usually people spray cabs to paint them, but I don't really have the space to do that, so I opted to try using a roller. I set up a tarp in the middle of my game room, put the cab down on it, and applied about 6 coats of paint, sanding between each few. The texture from the rollers sanded off pretty easily in most places, but I still had a lot of places where the sanding wasn't doing much. I think this was more to do with the wood than the painting though. If I was doing a proper restore I'd have used more filler and stuff to get everything flatter so that the sanding would hit evenly. Also I'd have a power sander instead of just a sanding block. Whoops. I'm not aiming for perfection though, as long as nothing doesn't look like an obvious mistake, I'm okay with it. 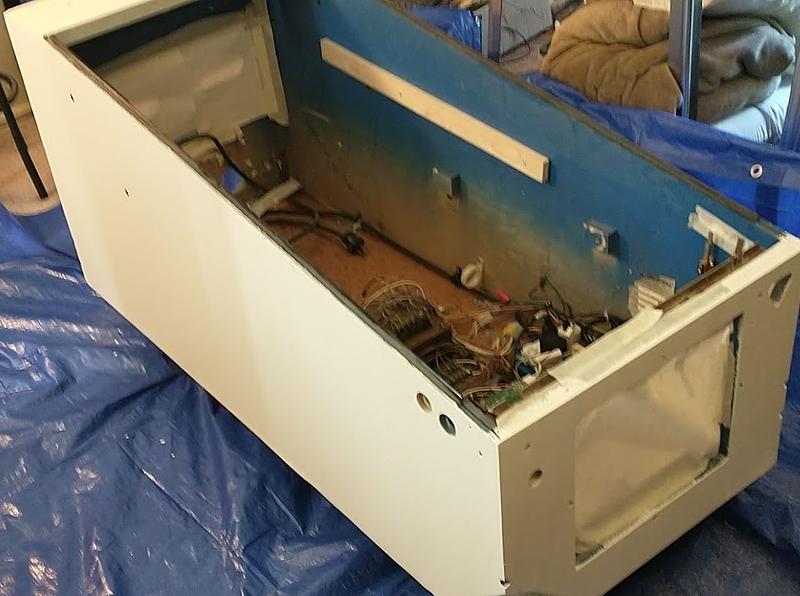
After my quart of paint ran out, I decided to try to do some webbing like many EMs have. Both because it looks cool, and because it'll probably help hide more of the imperfections in the base coat and wood. I saw a few people recommending Montana 'marble effect' spray paint with good results, so I gave it a shot here. Originally I was going to bring the cab out in my yard to spray it, but because of the weird way that it works, even a tiny bit of wind messes it up, so I had to do the spraying in doors :/ Luckily with a bit of 'masking' around the sides I was able to do it without any mishaps. 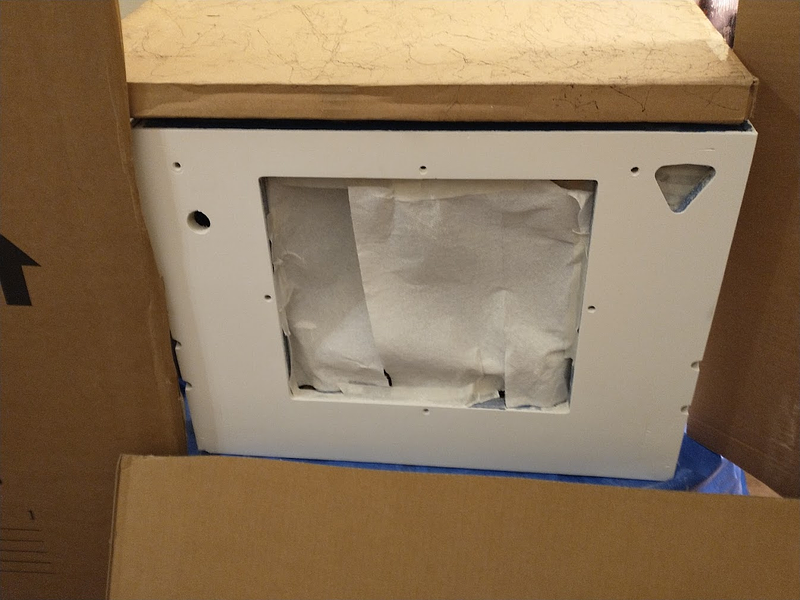
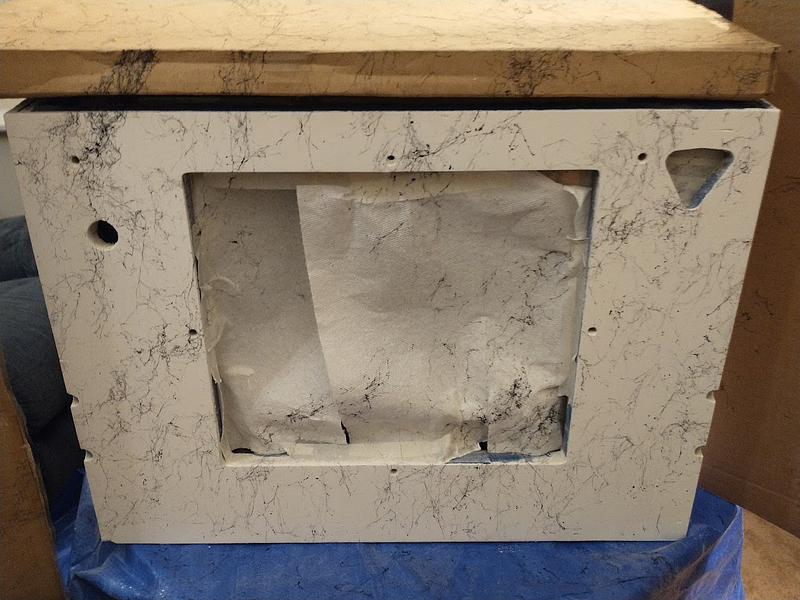
With my black stern siderails, black painted lockdown bar, and some black legs and shooter rod housing I picked up, the white really pops; I'm pretty satisfied with how it turned out overall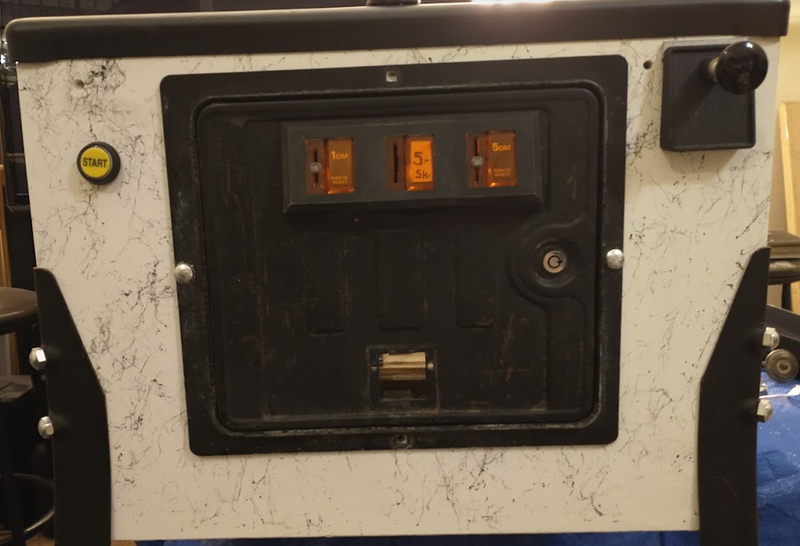
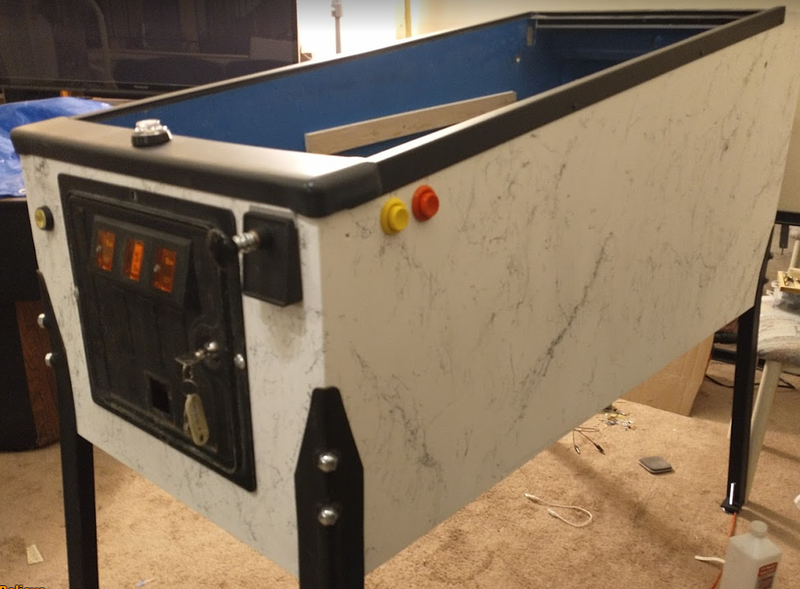
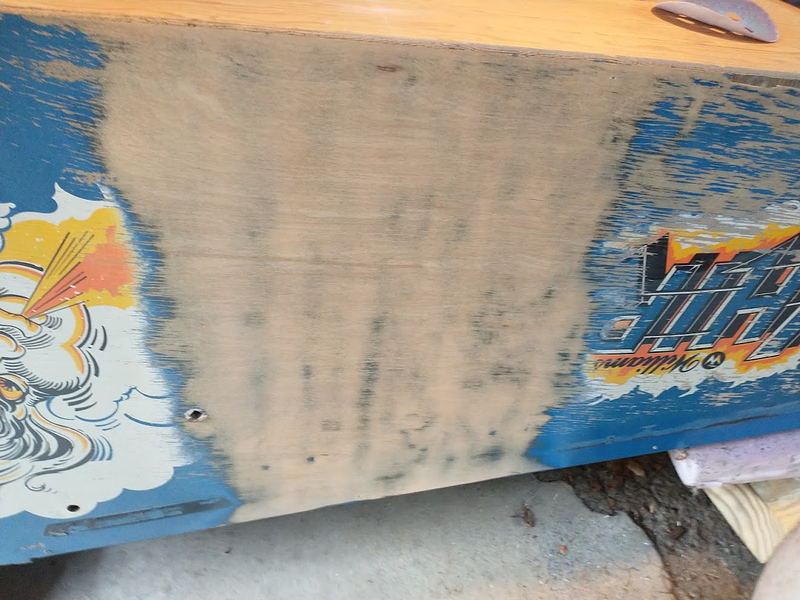
I still need to figure out the stencils for the side art to go on top of this, so that'll be a task for another day. I figure I'll need to mask those anyway, so it doesn't hurt to have the rest of the game reassembled when that happens, and in the mean time this looks leagues better than the peeling whirlwind art that was on it before
Cross posted from the original Pinside thread, this is one of many posts regarding my third homebrew pinball machine, creatively nicknamed 'P3'
Since things were looking pretty good as far as my pintastic target, I decided to make a questionable decision and try to get some cabinet art in too. First, I took out the playfield and neatened up the cabinet wiring some more. 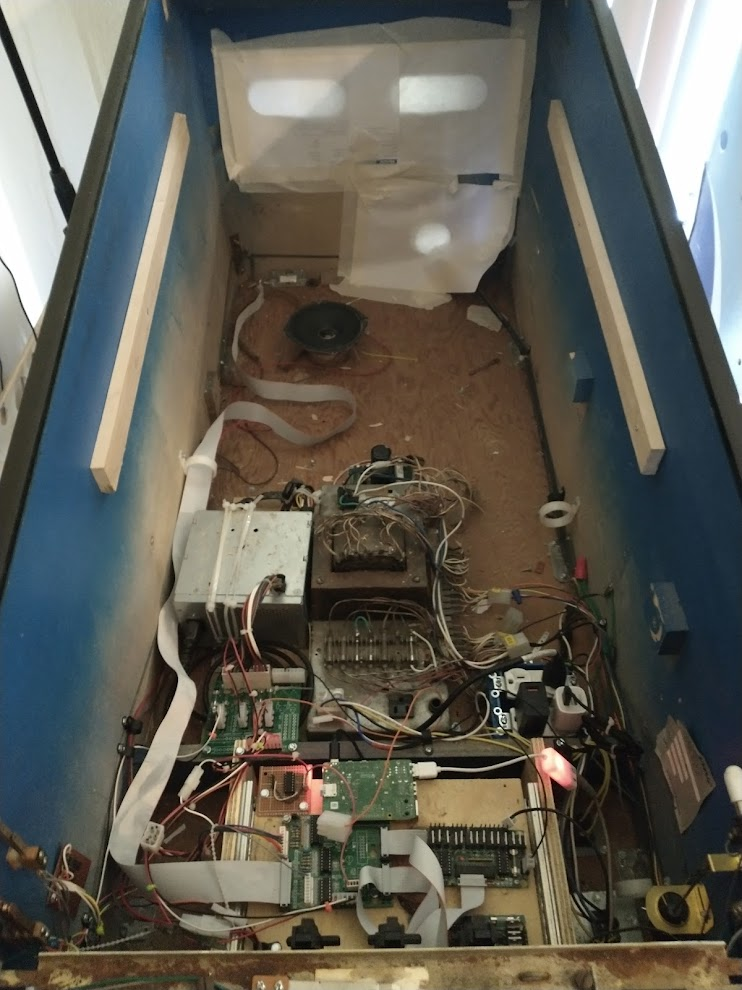
It still doesn't really look that neat, but everything is actually routed around and attached down, so I'm not really sure what more can be done on some fronts. Part of the mess is probably just the weird way everything is arranged and packed in, plus a lot of premade components that weren't meant to go together like this, like all the extra wiring on the transformer and power supply, or the USB, HDMI, and ethernet cables that I can't really chop down to their exact lengths easily.
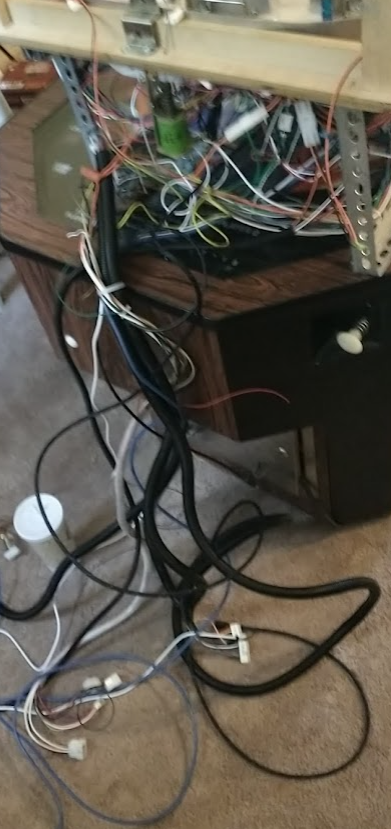
The playfield wiring also isn't as neat as I'd hoped. When I started this project my plan was to have just two connectors going from the cabinet to the playfield: one for power and one for data. The driver boards were all going to be mounted to the playfield like on a Spike game. Instead I have two big black hoses full of ~30 separate solenoid power lines snaking all the way to the driver boards in the cab. My single power connector became two since I separated out the low and high voltages. And instead of a single 'data' connector, I now have an ethernet cable, an hdmi cable, a switch matrix cable, and a led cable. Those last two probably could have been combined, but there isn't much I can do about the others since they're standardized. All of that winds up as a lot of connectors (14 at last count) that I need to unplug and remove from their routing to remove the playfield ![]()
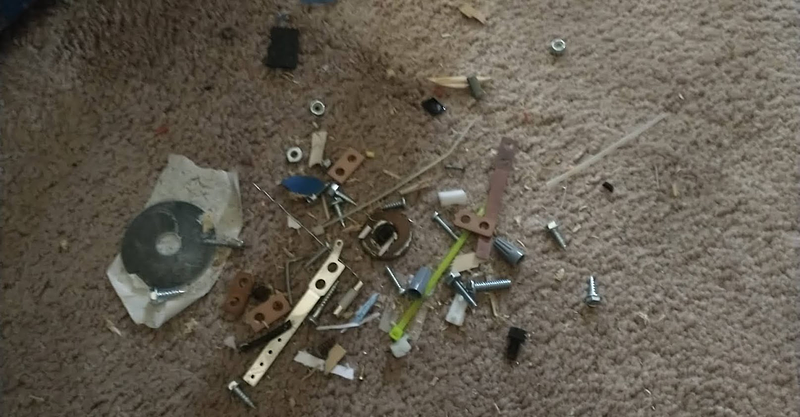
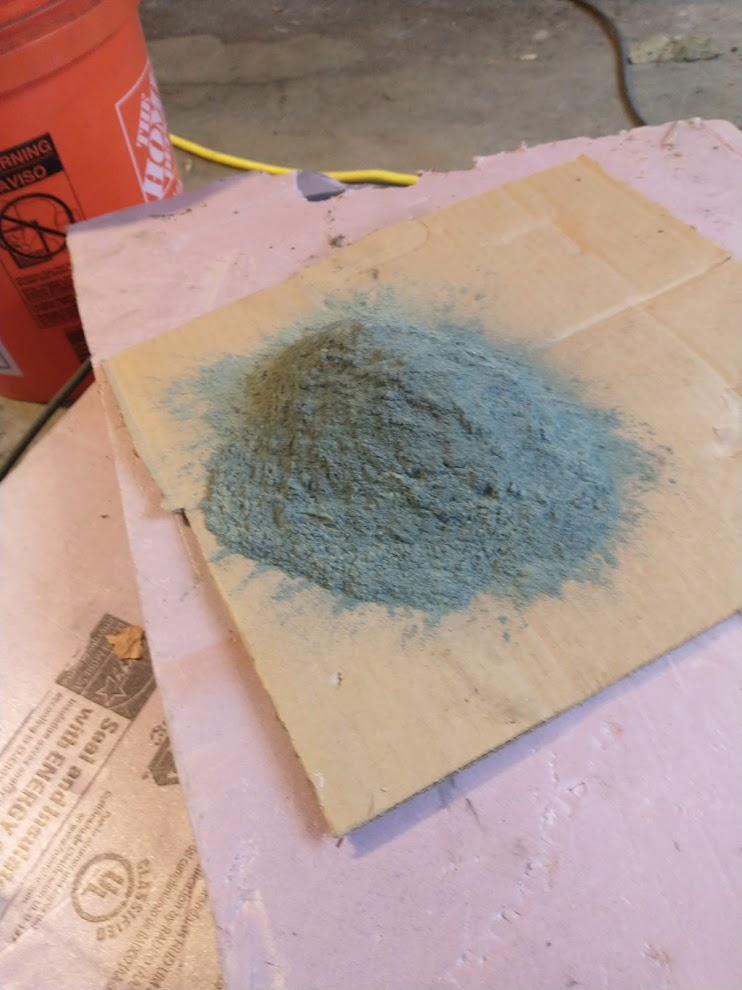
With the playfield out I was able to take the cab down to get it sanded. That also meant I finally got to clean it out a bit. A lot of random stuff accumulates at the bottom of a pinball cab when you're building a game in it!
Now, time to sand it down:
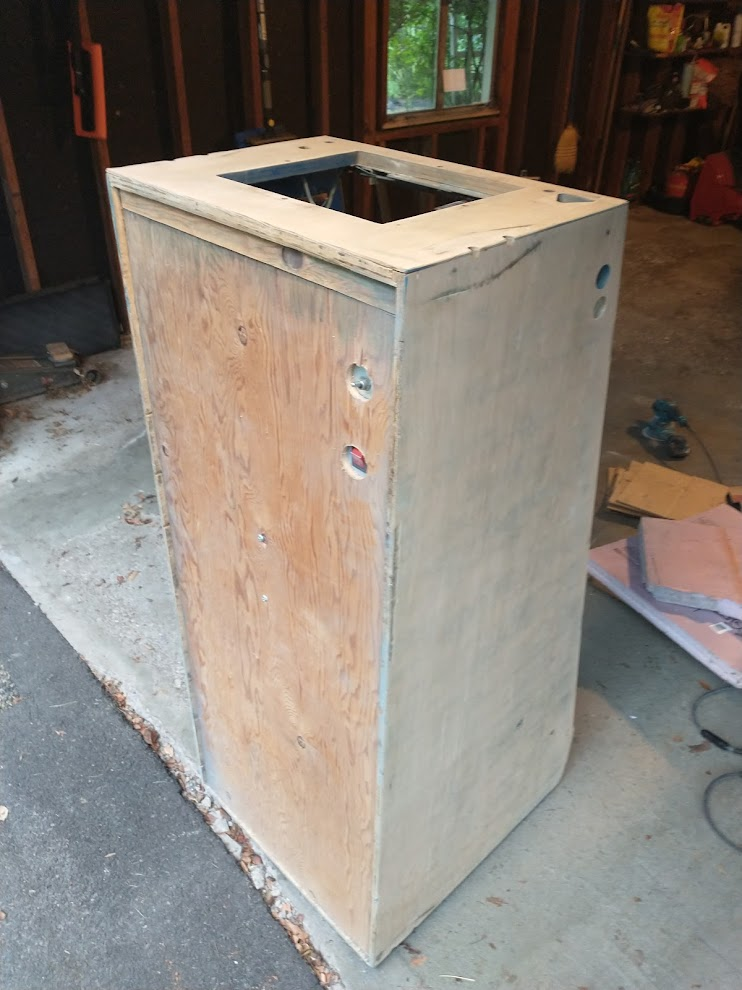
Next stop, Home Depot to buy some paint. I've never done a cab 'restore' before, so this should be interesting
Cross posted from the original Pinside thread, this is one of many posts regarding my third homebrew pinball machine, creatively nicknamed 'P3'
I scanned the plastics I had in with my printer and started mocking up some simple art using a CC vector playing card art pack I found online, then just printed them out on paper for a test
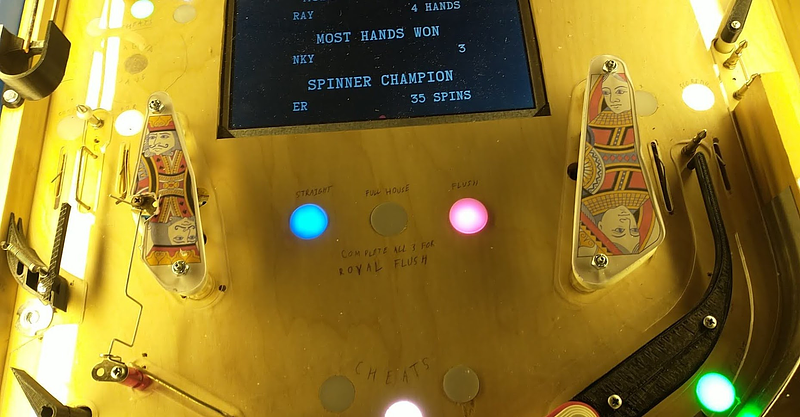
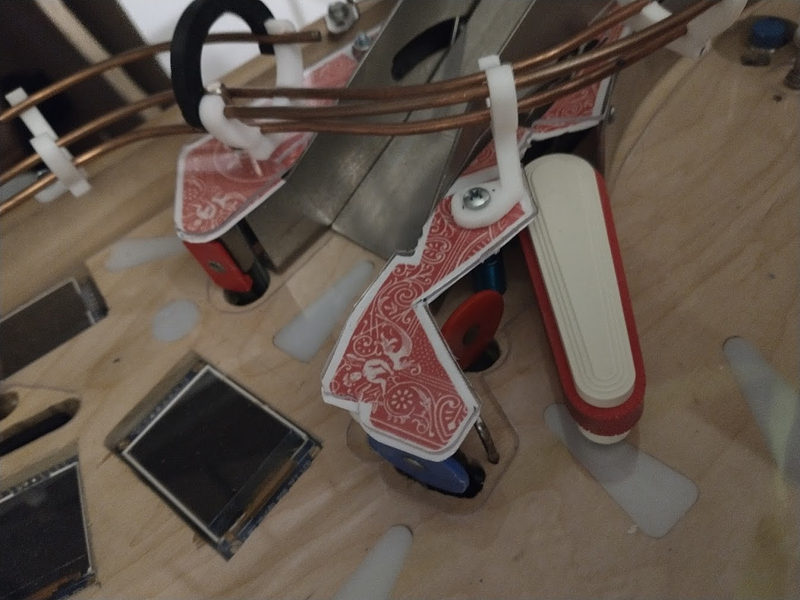
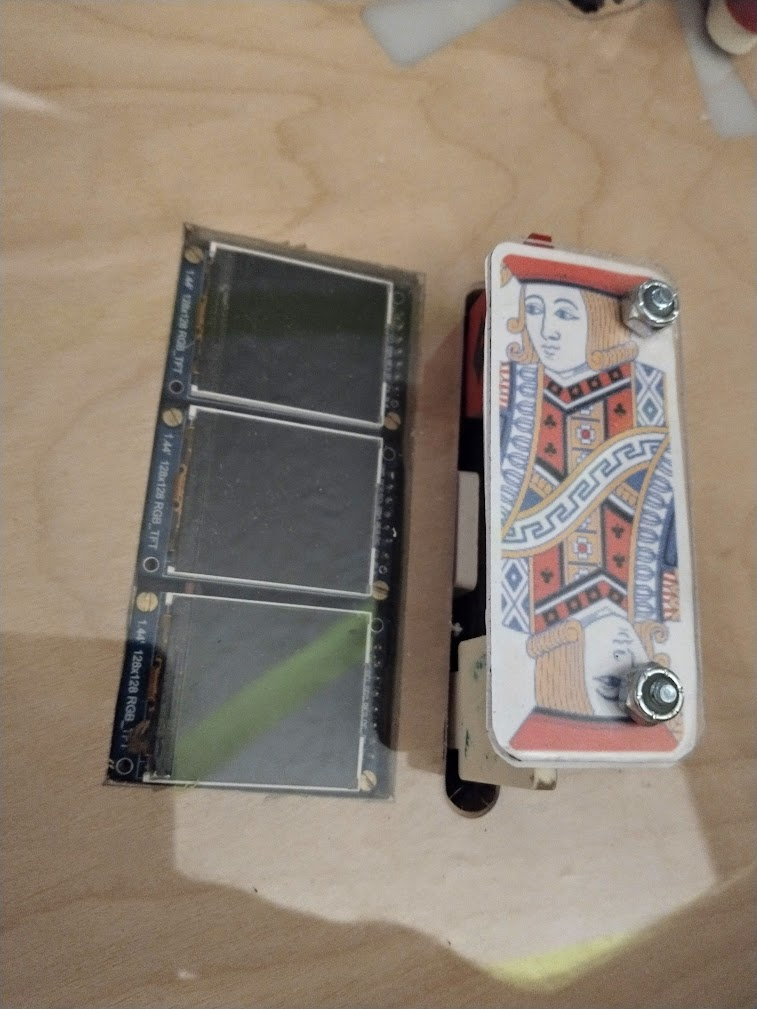
The paper didn't really turn out that great. Colors were very muted compared to how they look on screen, and without being glued to the plastics it still sags a bit and looks a bit messy, but they still really help pull the playfield together. I'd like to try to make up a few more paper bits to put on the playfield itself, at least where my hand written rules currently are, but that'll have to wait until I take the plastic off again. I've basically given up on ever having full playfield art for this, but I think a splash of color here and there should be more than enough. Once I've got the rest of the plastics made/mounted and drawn up I'll get them printed professionally somewhere for some better colors.
Cross posted from the original Pinside thread, this is one of many posts regarding my third homebrew pinball machine, creatively nicknamed 'P3'
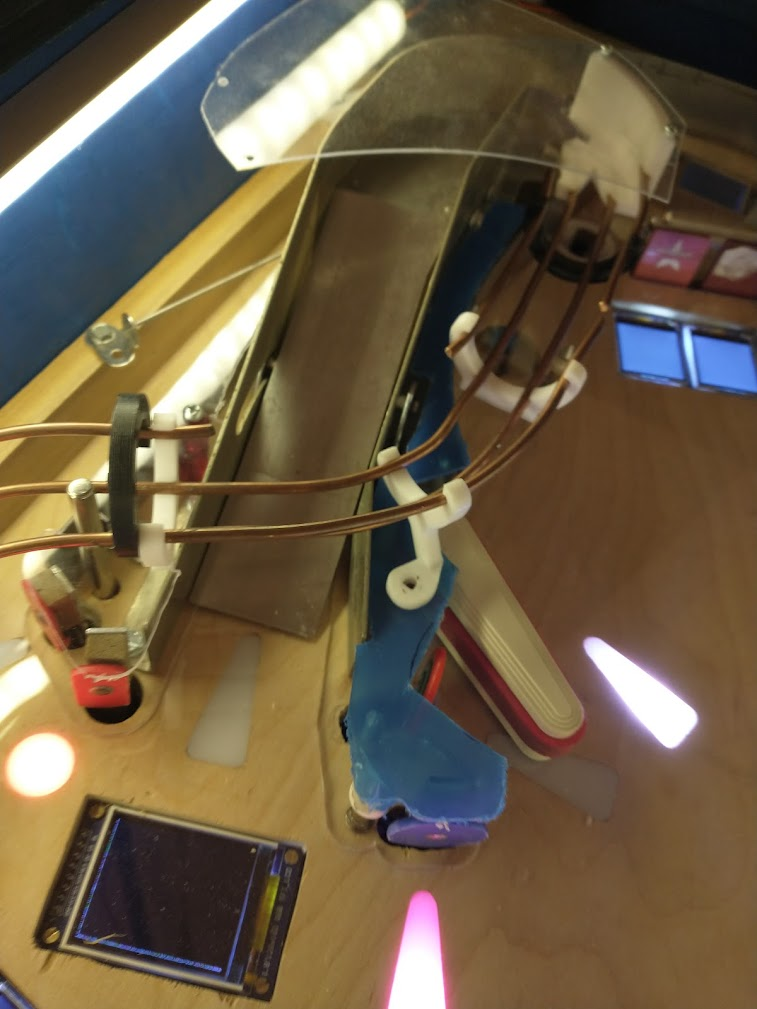
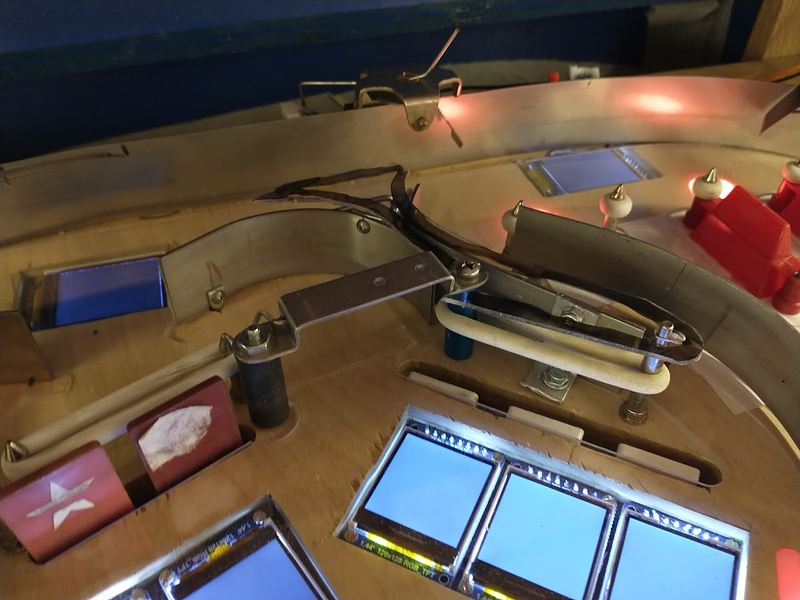
One thing that didn't cause any issues during testing, much to my surprise, was the lack of plastics. I thought for sure some airball would end up sitting on top of the slings, or manage to fall into the apron area since there's no apron, but that didn't happen once. Nevertheless, it needed to get done. I started by just sticking some index cards on the posts, and hand cutting them roughly to fit the shape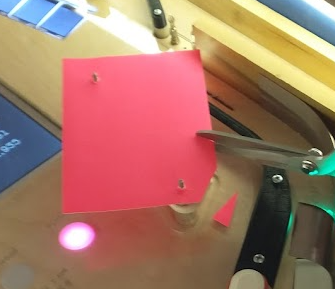
Once I had a few forms ready to test, I grabbed some scrap material from my last playfield cut to practice cutting with scissors and see how clean I could make them. Before I could actually get cutting though, I realized that one of the scraps I'd grabbed looks a lot like my slingshot.... Because it was! Not sure why I didn't think of it sooner, but obviously if you cut out a playfield protector, the left over 'negative' space will be sized to the unplayable areas, which is where the plastics need to go anyway. 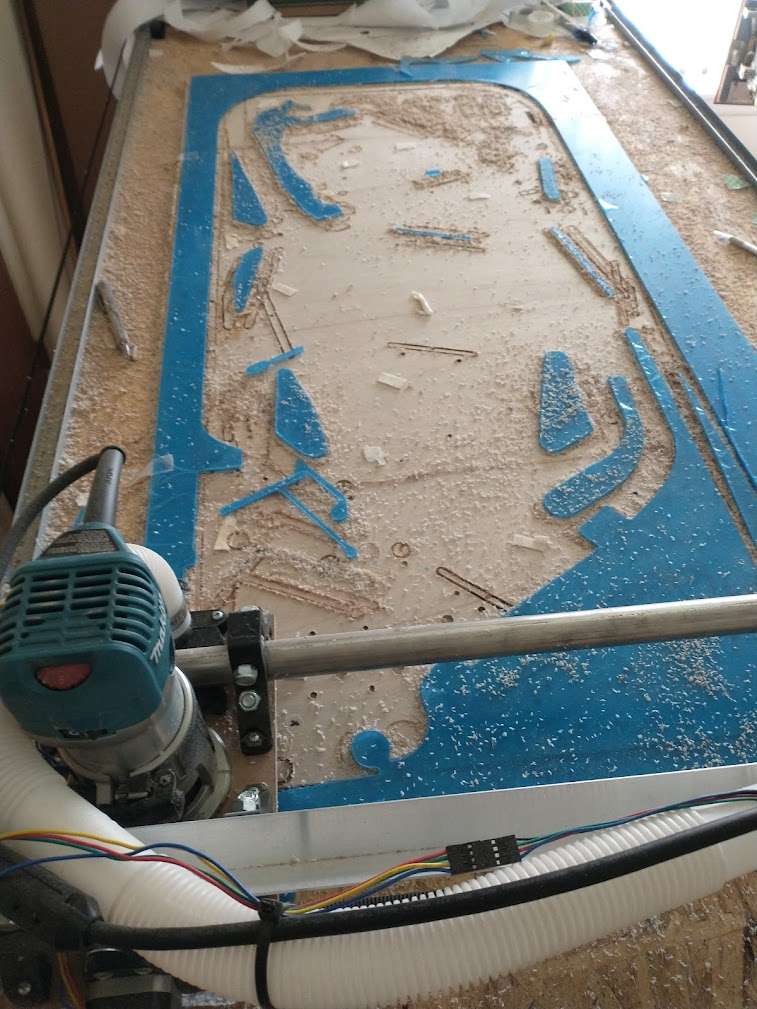
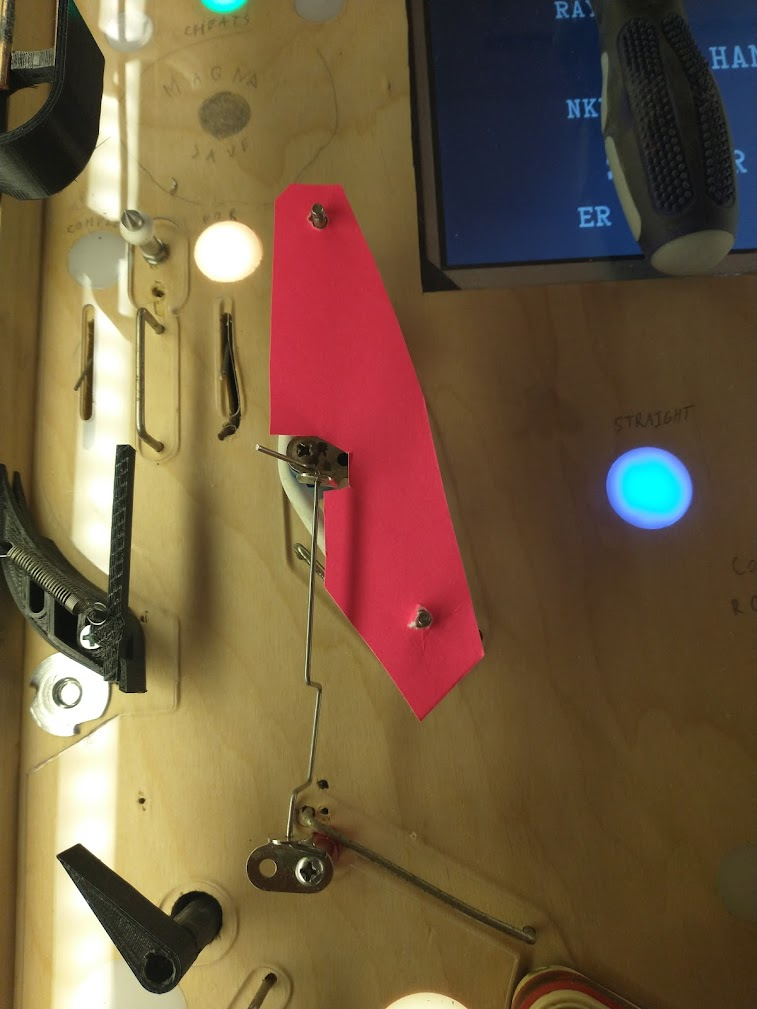
So I drilled a few holes for the posts, peeled off the protective layer, and then drew a border with dry erase marker so they'd show up, and: 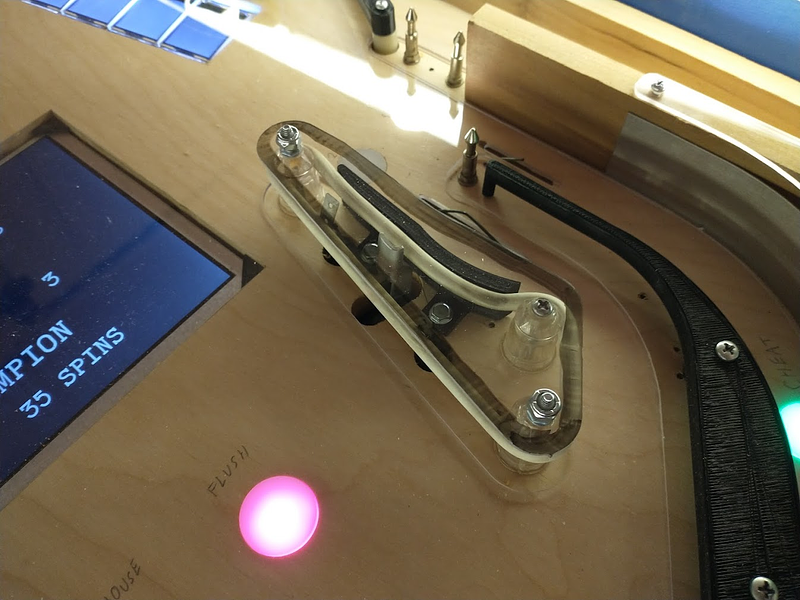
Not bad! The left sling went the same way, but I needed to manually cut out a bit to fit the gate in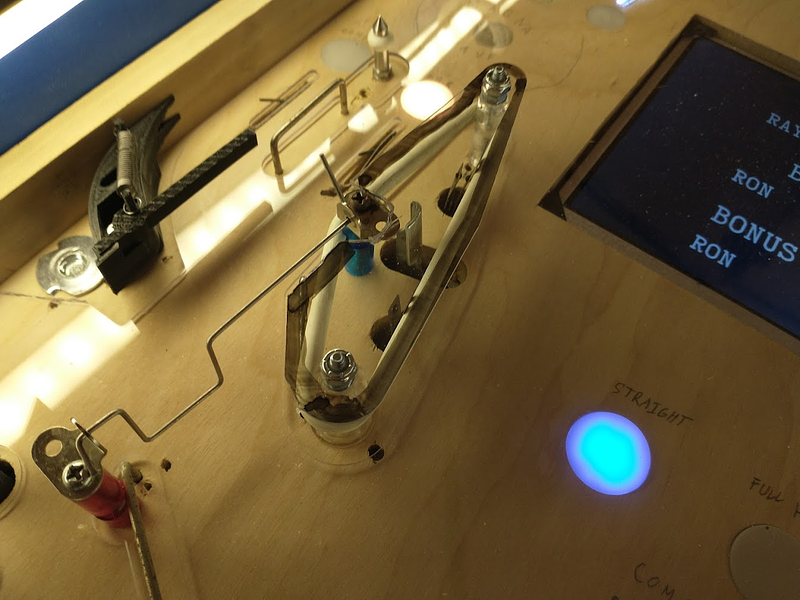 Most other plastics weren't so clear-cut, but I was able to eyeball it and get them to fit without major issues
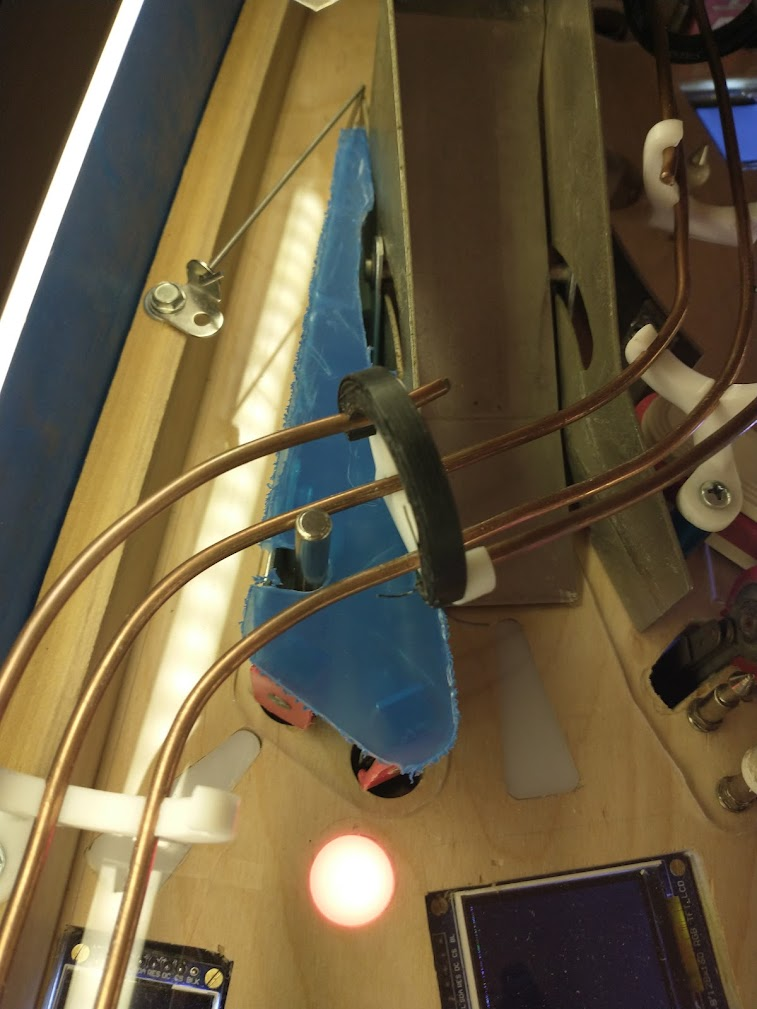
Even the apron was almost ready-made once I chopped it out of the scrap border plastic, although it's not perfect as I had to leave a hole for the handle.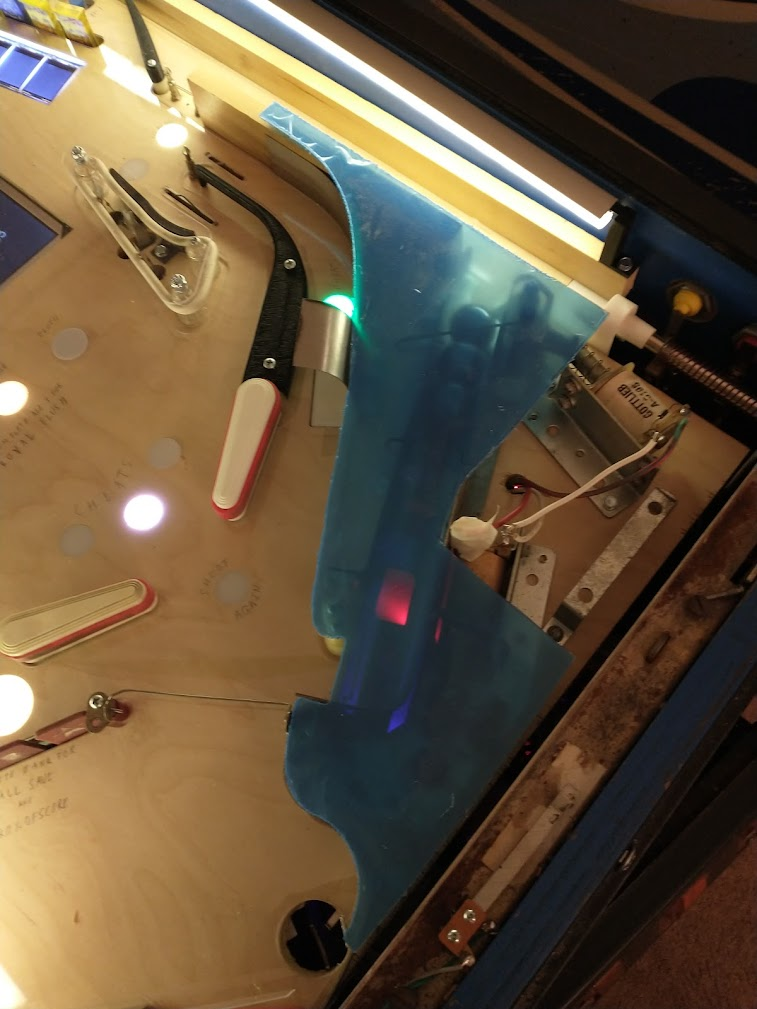
I don't have any 'front' wall for the apron yet either, so I guess technically an airball could still get up there and end up stuck between the apron and the glass, but that's still much better than it falling in and potentially hitting the mechs or something
One thing I hadn't really counted on was the actual mounting for the plastics. For the slings it wasn't too complicated as I just needed to swap the phillips screws for standard pinball ones with a 6-32 thread on top, but many places were made mostly out of mini-posts, which I used since they have the smallest diameter, allowing me to fit more stuff into some tight spaces. They worked great for that, but since they have a pointed top I can't use them to mount plastics, so I'll need to swap some of those out. Trouble is, no one makes a similar post with a wood screw on the bottom and a threaded top, so I may need to dig in deeper than I was hoping and start installing some t-nuts and machine screws. I didn't really plan the playfield with that in mind beyond a normal "well I can swap to machine screws later if the wood strips out", so a lot of those posts are above mechs and may need to have the t-nuts recessed or other annoying things.